The safe mode is defined as the problem diagnostic mode in Windows 10. It provides you with the minimalistic but basic functionality that is necessary to discover and fix an issue. Whenever you run into a problem in Windows 10, you start looking for ways to boot in the safe mode in order to resolve your issue. In this article, we will explain to you some methods through which you can boot in the safe mode in Windows 10.
Three Methods of Booting Windows 10 in Safe Mode
For booting in the safe mode in Windows 10, you can make use of any of the following methods listed below:
Method # 1: Use the run prompt to boot Windows 10 in Safe Mode
In this method, we will tell you how you can boot in the safe mode using the Run Prompt in Windows 10. For doing this, you need to proceed as follows:
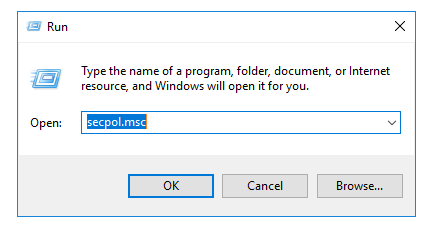
Type run in the search section of your taskbar and click on the search result to launch a new run prompt window. You can also press Win + R to launch it. The newly opened Run Prompt is shown in the following image:

Type msconfig in the text box corresponding to the Open field. It is highlighted in the image shown below:

Click on OK to continue.
As soon as you will click on it, the System Configuration window will appear which is shown in the following image:

Now click on the Boot tab as shown in the image below:

Check the checkbox corresponding to the field of “Safe Mode”. It is shown in the following image:

Click on Apply and then click on OK to save the settings.
After this, you will be prompted to restart your computer system. Once you will restart it, you will automatically boot in the safe mode in Windows 10. It is shown in the following image:

Method # 2:Using Start Menu to Boot in Safe Mode
In this method, we will tell you how you can boot in the safe mode using the Start Menu in Windows 10. For doing this, you need to perform the following steps:
Click on the Windows icon to launch the Start Menu. It is shown in the image below:

Now click on the power button as highlighted in the image shown above. This will launch a menu which is shown in the following image:

Press the shift key and while holding it, click on the Restart option as highlighted in the image shown above.
As soon as you will click on it, Windows 10 will reboot and display some options.
Click on the Troubleshoot option.
Then click on the Advanced Options.
Select Startup Settings and then click on the Restart button.
As soon as your PC will restart, it will display some options. Choose the one that is most appropriate for you. Here you can press F4 to Enable Safe Mode, F5 to Enable Safe Mode with Networking or F6 to Enable Safe Mode with Command Prompt.
All the three options listed above will lead you to the Safe Mode which is shown in the following image:

Method # 3: Using Windows Settings to enable Safe Mode Boot in Windows 10
In this method, we will tell you how you can boot in the safe mode using the Settings application in Windows 10. In order to do this, you need to proceed as follows:
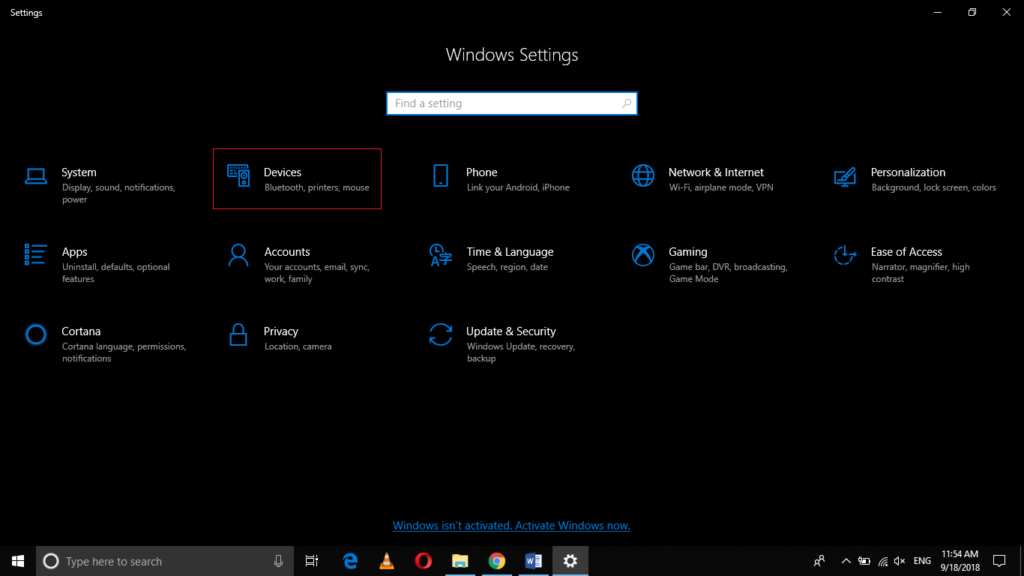
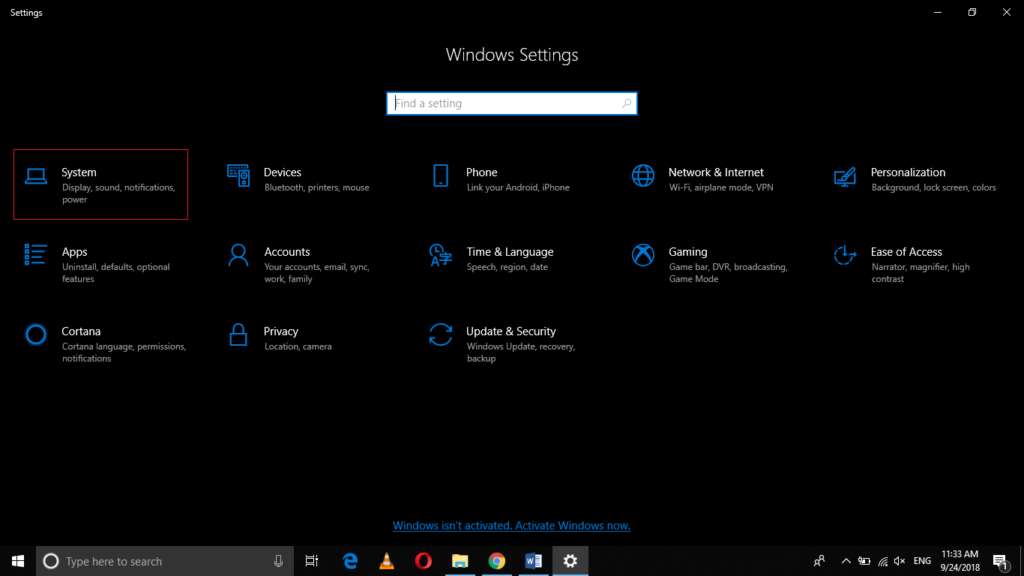
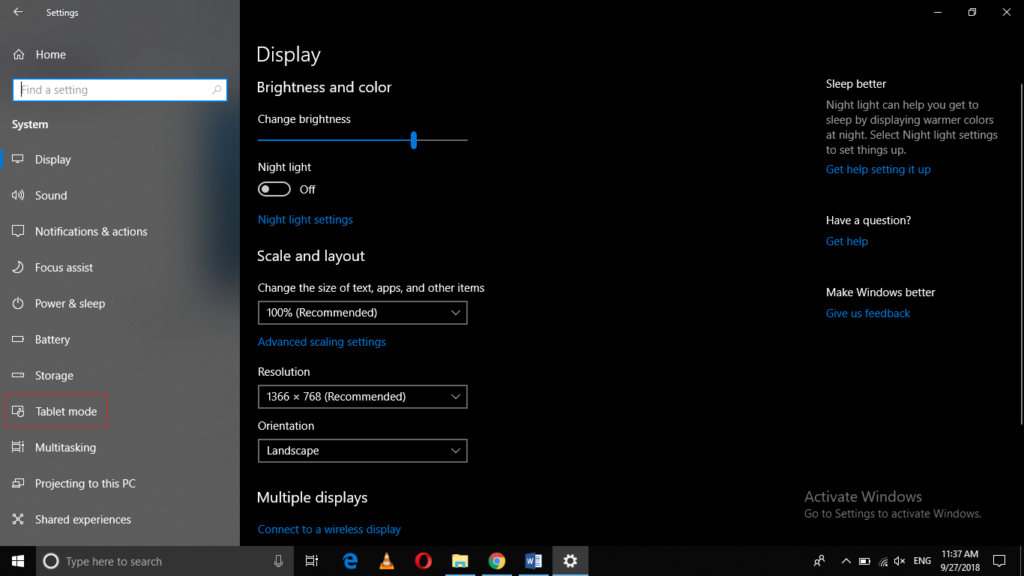
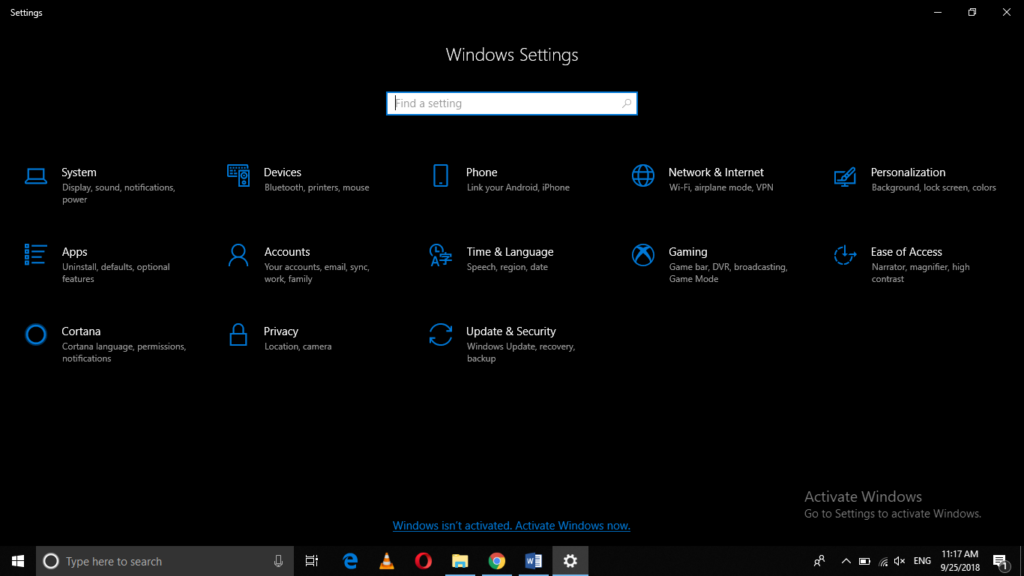
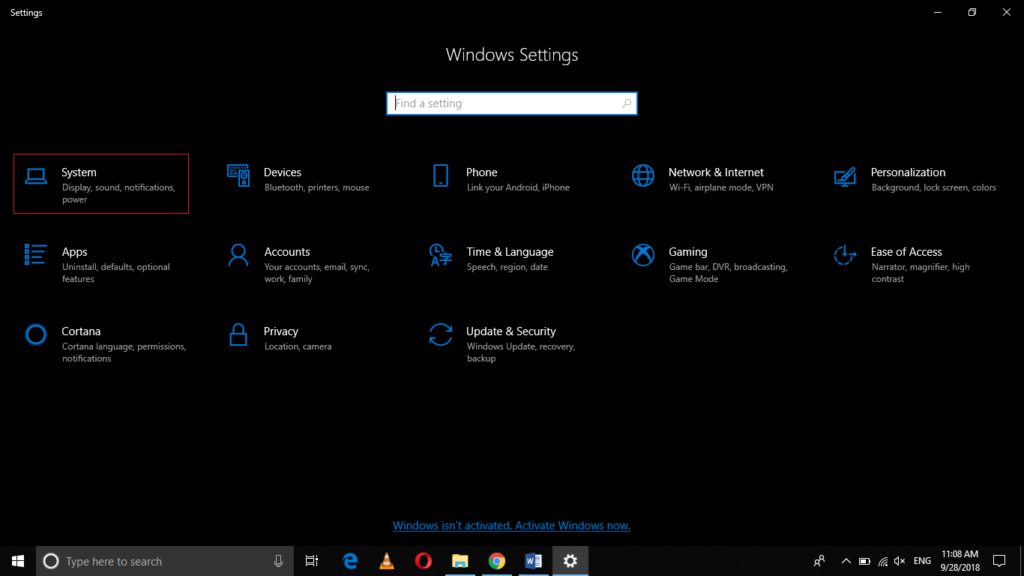
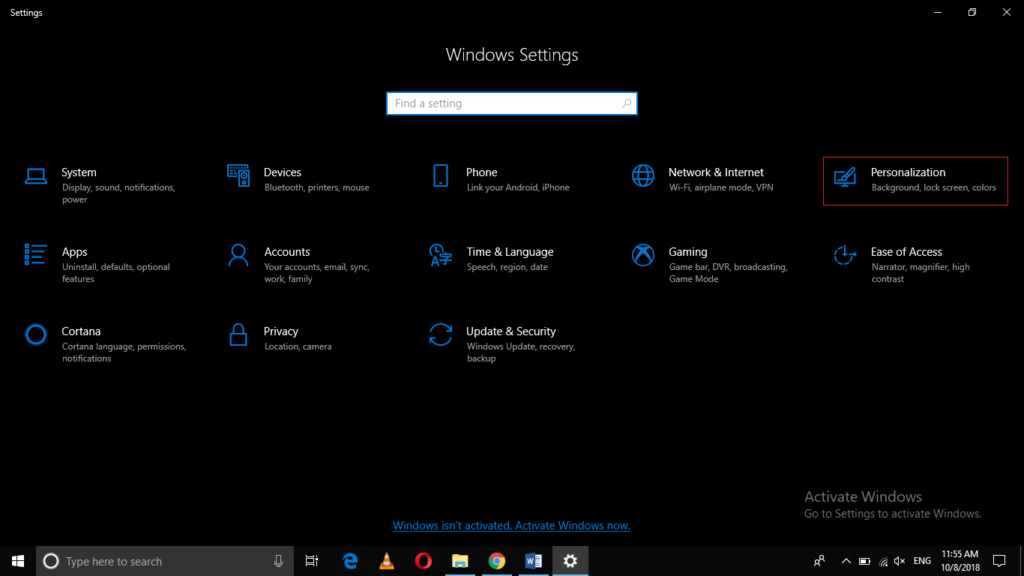
Type settings in the search section of your taskbar and click on the search result to launch a new settings window. The newly opened Settings window is shown in the following image:

Click on the Update and Security tab.
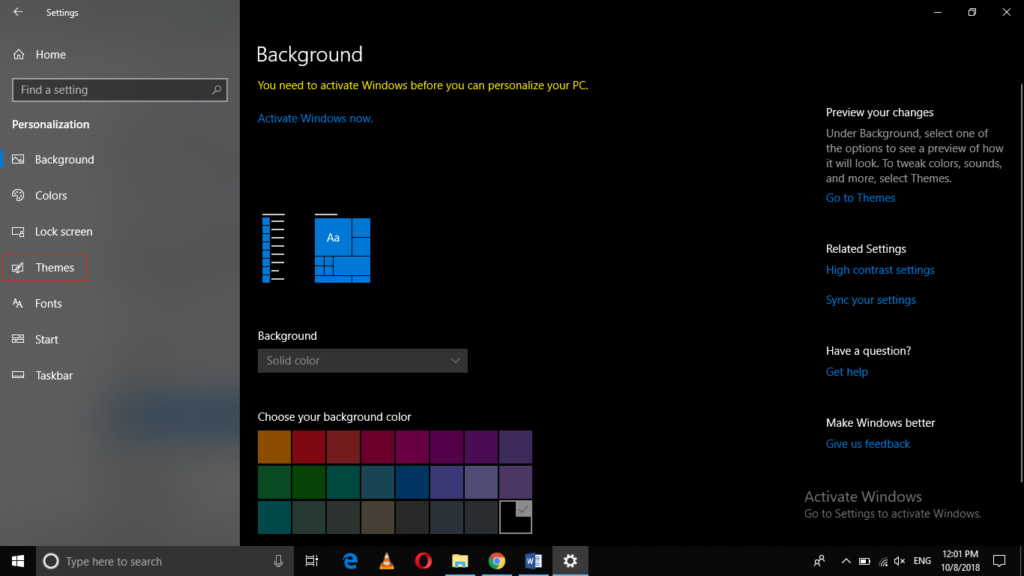
Now click on Recovery as shown in the following image:

After clicking on Recovery, click on Restart Now as highlighted in the image shown below:

As soon as you will click on it, Windows 10 will reboot and display some options.
Click on the Troubleshoot option.
Then click on the Advanced Options.
Select Startup Settings and then click on the Restart button.
As soon as your PC will restart, it will display some options. Choose the one that is most appropriate for you. Here you can press F4 to Enable Safe Mode, F5 to Enable Safe Mode with Networking or F6 to Enable Safe Mode with Command Prompt.
All the three options listed above will lead you to the Safe Mode which is shown in the following image:

Conclusion
By following any of the three methods listed above, you can easily boot in the safe mode to diagnose any problems that your PC is currently facing and you can conveniently fix them. Whenever you want to come out of the safe mode and want to boot in the normal mode, just press Win+ R to open Run Prompt in the safe mode. Type msconfig in the Open text field and click on the OK button to continue. In the System Configuration window, uncheck the checkbox corresponding to the field of “Safe Mode”. Click on Apply and then click on OK. Finally, restart your computer system. As soon as it will restart, you will automatically be able to boot in the normal mode.
The post How to Boot Windows 10 in Safe Mode appeared first on FAQforge.